


Product
Best Overall
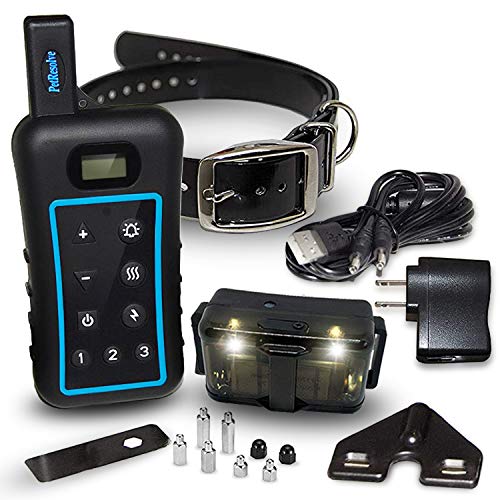
Pet Resolve Remote Training Collar
Editor's Choice
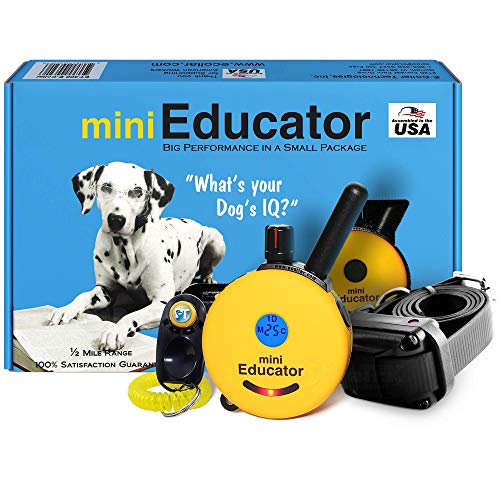
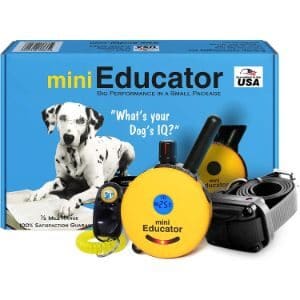
Mini-Educator ET-300 Shock Training Collar
Image
Rating
Prime
–
–
Price
Best Overall

Product
Pet Resolve Remote Training Collar
Image
Rating
Prime
–
Price
Editor's Choice
Product
Mini-Educator ET-300 Shock Training Collar
Image
Rating
Prime
–
Price

Last update on 2026-07-31 at 11:59 / Affiliate links / Images from Amazon Product Advertising API
")
")
")
")